
Xcode Cloud Setup — A Step-by-Step Guide for iOS Developers
For years I ran iOS CI/CD on a mix of Fastlane, GitHub Actions, and a dusty Mac mini sitting under my desk. It worked, but every Xcode update broke something — provisioning profiles, certificates, simulator versions, Ruby gems. Keeping it alive became a part-time job.
Then I moved my side projects to Xcode Cloud. No more self-hosted runners. No more Fastlane match. No more “it builds on my machine.” Apple handles the infrastructure, you write the workflow, and TestFlight builds show up automatically.
This is the setup guide I wish I had when I started. Real steps, real pitfalls, production-tested.
What Xcode Cloud Actually Is
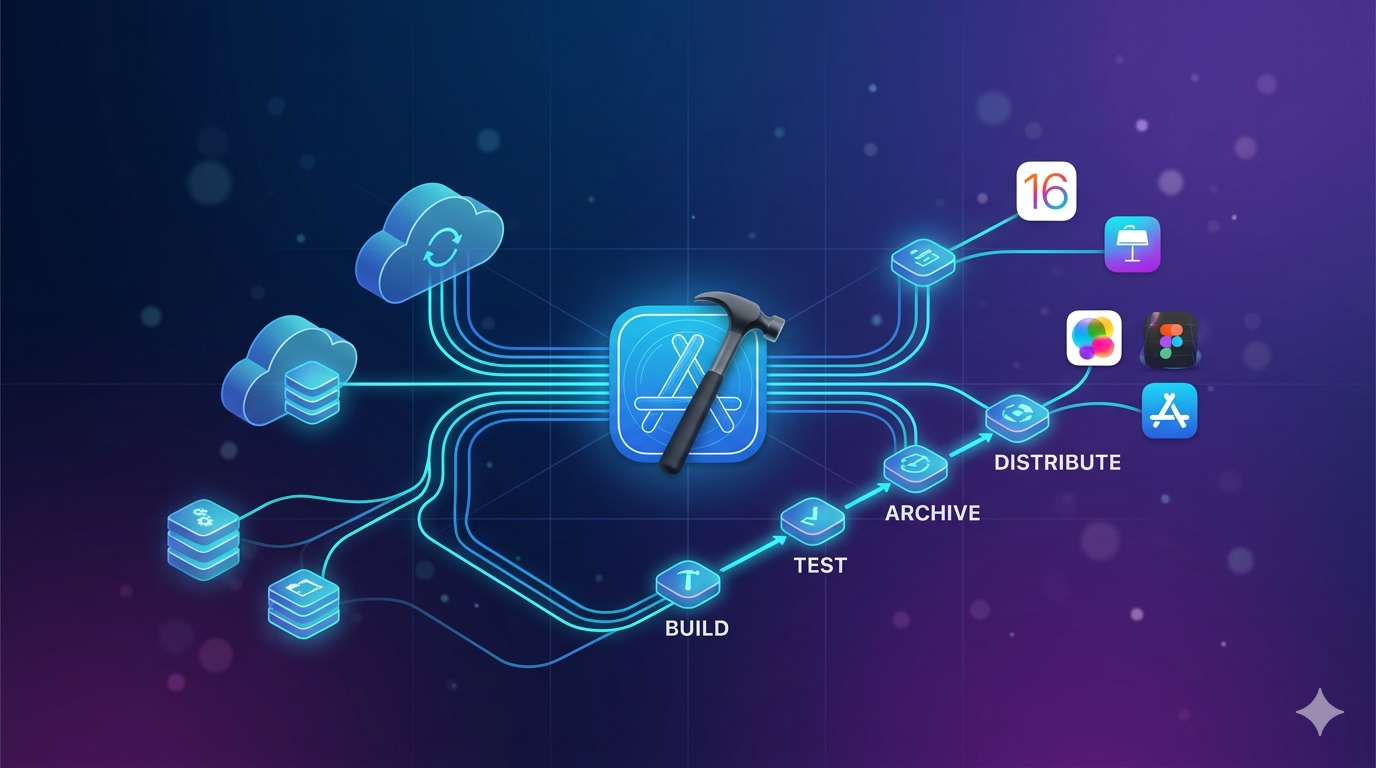
Xcode Cloud is Apple’s first-party CI/CD service, built directly into Xcode and App Store Connect. It runs your builds on Apple-managed macOS instances, handles code signing automatically, and integrates with TestFlight without any manual glue code.
The key difference from GitHub Actions or Bitrise: Apple owns the entire signing chain. You do not upload certificates, you do not manage provisioning profiles, you do not run fastlane match. Xcode Cloud signs your app using your App Store Connect account.
Xcode Cloud vs The Alternatives
Before you commit, know what you are trading off:
| Feature | Xcode Cloud | GitHub Actions (macOS) | Bitrise | Self-Hosted |
|---|---|---|---|---|
| Setup time | 15 min | 2–4 hours | 1–2 hours | 1–2 days |
| Code signing | Automatic | Manual (match) | Semi-auto | Manual |
| macOS runners | Apple-managed | GitHub-managed | Bitrise-managed | Yours |
| TestFlight upload | Native | Fastlane/altool | Plugin | Fastlane |
| Free tier | 25 hours/month | 2000 min (slow) | 200 builds | Free |
| Best for | iOS-only shops | Polyglot teams | Cross-platform | Cost control |
If your app is iOS/macOS only and you are tired of maintaining CI infra, Xcode Cloud is the fastest path to a working pipeline. If you have Android in the same repo, keep using GitHub Actions or Bitrise.
Prerequisites
Before you start, make sure you have:
- Xcode 15 or later (Xcode 16 recommended)
- Apple Developer Program membership — personal or organization account
- App Store Connect Account Holder or Admin role — required to enable Xcode Cloud the first time
- Your project pushed to a Git remote — GitHub, GitLab, or Bitbucket (SSH keys or OAuth)
- A valid bundle identifier registered in App Store Connect
One gotcha: if your Apple Developer account is part of an organization, only the Account Holder can enable Xcode Cloud initially. After that, Admins can create workflows.
Step 1: Open Your Project in Xcode
Open your .xcodeproj or .xcworkspace in Xcode. Make sure your project builds locally first — Xcode Cloud will not fix a broken build. Run a clean build with Cmd + Shift + K followed by Cmd + B.
If your project uses CocoaPods or Carthage, I strongly recommend migrating to Swift Package Manager before enabling Xcode Cloud. SPM is first-class and builds faster on Apple’s runners. CocoaPods works but requires a custom ci_post_clone.sh script (more on this later).
Step 2: Create Your First Workflow
In Xcode, go to the Report Navigator (Cmd + 9), then click the Cloud tab. Click Get Started, then Grant Access when prompted to link your Apple ID.
Xcode will ask you to select:
- The product to build — pick your app target
- The primary repository — Xcode auto-detects your Git remote
- A workflow name — I use
CI - DevelopandRelease - Main
Click Grant Access again when Xcode asks to connect to your Git provider. For GitHub, this opens a browser window to authorize the Xcode Cloud app on your repo.
Step 3: Configure the Workflow
This is where the real work happens. A workflow has four parts:
Start Conditions
What triggers a build? My default setup:
- CI workflow: Branch Changes →
develop→ Files and Conditions: Any - Release workflow: Tag Changes → matching
v*.*.* - PR workflow: Pull Request Changes → targeting
develop
Avoid triggering on every push to every branch. That burns your free 25 hours fast.
Environment
Pick the Xcode version and macOS version. Always pin to a specific Xcode version, not “Latest Release.” I learned this the hard way when Apple released Xcode 16.1 and my builds started failing because of a deprecated API.
1
2
Xcode: 16.0
macOS: Sequoia 15.0
Actions
Actions are the steps Xcode Cloud runs. The common ones:
| Action | What it does | When to use |
|---|---|---|
| Build | Compiles your app | Every workflow |
| Test | Runs XCTest/XCUITest | CI workflows |
| Analyze | Runs static analyzer | Optional, slow |
| Archive | Creates .xcarchive for distribution |
Release workflows |
For the CI workflow, add Build and Test. Select the scheme (usually your app target) and the destinations — I use iOS Simulator: iPhone 15 Pro for tests.
For the release workflow, add Archive. Select TestFlight (Internal Testing Only) or TestFlight and App Store depending on your release process.
Post-Actions
Post-actions run after the main actions succeed. The two I always add:
- Notify — Slack or email notifications on build success/failure
- TestFlight External Testing — for the release workflow
For Slack, Xcode Cloud supports a native integration. Go to App Store Connect → Xcode Cloud → Settings → Integrations → Slack. Much cleaner than building your own webhook.
Step 4: Handle Code Signing
Here is the magic: you do not configure code signing. Xcode Cloud uses your App Store Connect account to generate and manage signing assets automatically. The first time you run an Archive action, Xcode Cloud will:
- Create a new distribution certificate (if needed)
- Generate a provisioning profile matching your bundle ID
- Sign the build and upload it to App Store Connect
This is the biggest productivity win. No more “Fastlane match failed” errors at 2 AM.
However, there is one catch: if your app uses app extensions, push notifications, App Groups, or any entitlement, make sure all capabilities are properly configured in the Signing & Capabilities tab of your target before the first Archive run. Xcode Cloud cannot fix misconfigured entitlements.
Step 5: Custom Scripts with ci_scripts
Xcode Cloud runs special scripts if they exist in a ci_scripts/ folder at the root of your repository. Three hooks are supported:
1
2
3
4
ci_scripts/
├── ci_post_clone.sh    # After repo is cloned
├── ci_pre_xcodebuild.sh # Before xcodebuild runs
└── ci_post_xcodebuild.sh # After xcodebuild finishes
These must be executable (chmod +x ci_scripts/*.sh) and use #!/bin/sh or #!/bin/zsh.
Real Example: CocoaPods Install
If you are stuck on CocoaPods, add this:
1
2
3
4
5
6
7
8
9
10
11
#!/bin/sh
# ci_scripts/ci_post_clone.sh

set -e

echo "Installing CocoaPods..."
brew install cocoapods

echo "Running pod install..."
cd "$CI_PRIMARY_REPOSITORY_PATH"
pod install
Real Example: Inject Environment Variables
Do not commit API keys. Use Xcode Cloud’s environment variables (App Store Connect → Xcode Cloud → Workflow → Environment) and write them to a file at build time:
1
2
3
4
5
6
7
8
9
10
11
12
13
#!/bin/sh
# ci_scripts/ci_pre_xcodebuild.sh

set -e

echo "Generating Secrets.swift from env vars..."

cat > "$CI_PRIMARY_REPOSITORY_PATH/MyApp/Secrets.swift" <<EOF
enum Secrets {
    static let apiKey = "$API_KEY"
    static let sentryDSN = "$SENTRY_DSN"
}
EOF
Mark sensitive variables as Secret in the workflow settings — they will be masked in logs.
Real Example: Notify Slack on Build Start
1
2
3
4
5
6
#!/bin/sh
# ci_scripts/ci_post_clone.sh

curl -X POST -H 'Content-type: application/json' \
  --data "{\"text\":\"Build started for $CI_BRANCH by $CI_COMMIT_AUTHOR\"}" \
  "$SLACK_WEBHOOK_URL"
Xcode Cloud exposes a bunch of CI_* environment variables. The useful ones:
| Variable | Description |
|---|---|
CI_PRIMARY_REPOSITORY_PATH |
Path to your cloned repo |
CI_BRANCH |
Current branch name |
CI_COMMIT |
Full commit SHA |
CI_COMMIT_AUTHOR |
Commit author name |
CI_WORKFLOW |
Workflow name |
CI_BUILD_NUMBER |
Xcode Cloud build number |
CI_XCODE_SCHEME |
Scheme being built |
Step 6: Run Your First Build
Back in Xcode, right-click your workflow in the Report Navigator and select Start Build. Pick a branch and hit Start Build.
The first build will be slow — 15 to 20 minutes is normal. Apple has to provision a fresh macOS VM, clone your repo, resolve dependencies, and build from scratch. Subsequent builds use cached dependencies and run much faster (typically 5–8 minutes for a medium-sized app).
Watch the logs in real time in Xcode, or jump to App Store Connect → Xcode Cloud for the web view. If the build fails, the log viewer is actually excellent — much better than what you get with GitHub Actions.
Step 7: TestFlight Distribution
Once your release workflow runs an Archive action, the build shows up in App Store Connect under TestFlight → Builds within a few minutes. No manual upload, no altool, no waiting for processing separately.
To distribute to external testers automatically, add a TestFlight External Testing post-action to your workflow and pick the tester groups. The first external build still needs Beta App Review approval (Apple’s rule, not Xcode Cloud’s), but subsequent builds roll out instantly.
Common Issues and Fixes
These are the real problems I hit, not hypothetical ones:
“No matching provisioning profile found” Your bundle ID is not registered in App Store Connect, or your team doesn’t have permission. Go to Certificates, Identifiers & Profiles and register the bundle ID manually.
“ci_post_clone.sh: permission denied”
You forgot chmod +x. Run chmod +x ci_scripts/*.sh and commit the permission change.
“Build succeeded but tests failed with no output”
Your test scheme is not marked as shared. Open the scheme editor in Xcode, check Shared, and commit the .xcscheme file inside xcshareddata/xcschemes/.
“Archive action is missing” You need to add the Archive action manually to the workflow. It is not included by default.
“Running out of free tier hours”
The free 25 hours/month goes fast if you build on every PR. Tighten your start conditions, disable Analyze (it is slow), and use xcodebuild caching. You can buy more hours in App Store Connect — $49.99/month for 100 hours is reasonable for a solo dev.
When NOT to Use Xcode Cloud
Xcode Cloud is great, but not for everyone. Skip it if:
- Your app has a React Native or Flutter layer with heavy Node/Dart tooling — the Linux-free environment will hurt you
- You need GPU-based tests or specialized hardware
- You build dozens of apps per month — pricing gets expensive compared to self-hosted
- You need complex multi-platform matrices (Android + iOS in one pipeline)
For Flutter specifically, I still use Codemagic because it handles both platforms in one pipeline. For pure Swift/SwiftUI projects, Xcode Cloud wins.
My Recommended Workflow Setup
After a year of using Xcode Cloud in production, this is the setup I land on for every new iOS project:
CI - PR— Runs on pull requests todevelop. Builds and tests only. Fastest feedback loop.CI - Develop— Runs on every push todevelop. Builds, tests, and uploads to TestFlight Internal Testing. Designers and QA get the latest build automatically.Release - Main— Runs on tags matchingv*.*.*. Archives, uploads to TestFlight, and distributes to external testers after Beta Review.
Three workflows, fully automated, zero maintenance. This is what CI was supposed to feel like.
Final Thoughts
Xcode Cloud is not perfect. The web UI in App Store Connect is clunky, the free tier runs out if you are not careful, and debugging obscure signing errors can still be painful. But compared to the alternatives for iOS-only projects, it is dramatically less work.
If you are maintaining a Mac mini in a closet, burning weekends on Fastlane match errors, or paying for a CI service that struggles with every Xcode update — give Xcode Cloud a serious look. The 15 minutes it takes to set up will save you hundreds of hours down the road.
If you want to go deeper on iOS development, check out my post on AI coding tools I actually use — pairing Xcode Cloud with AI-assisted development is how I ship side projects in a weekend instead of a month.